Recently Joshua's brother Jason got married to his wonderful fiancée Meghan.
The wedding weekend was filled with many different activities for the families and bridal party and I was honored to be part of the happiness that was shared by the happy couple.
The wedding was simply gorgeous with the bridesmaids wearing a deep purple and the flowers, a bright variety of Gerber daisies, orchids, calla lilies and roses. The bride was stunning! Her dress was layered with lace and satin, and she wore an elegant veil with a lot of detailing around the edge. Because I don't feel that my words do her justice, I've decided to add a picture:

She was (and is) so beautiful!
Now on to the flowers... are they not beautiful? Luckily, when I was in high school, I worked at a florist which did flower preservations. I offered to do that to Meghan’s flowers, and after some specific discussion on what exactly I would be doing to them, she agreed!
Here's the first steps of what I did to prepare her flowers to be preserved.
1. Cut all stems down to 1 inch
2. Dry any dew-like moisture that may have been remaining in the flowers with a paper towel

3. In a shoe-like box (do not use a plastic container. Flowers might get moldy if you do), fill about a quarter of the box with Silica and place the flowers (bud up) in the powder (or beads depending what kind of silica you purchased. I've used both and they do an equally great job).

4. Carefully fill the rest of the box with the Silica, meaning, don't dump it all in at once. Fill around the flowers first, then the inside the flowers.
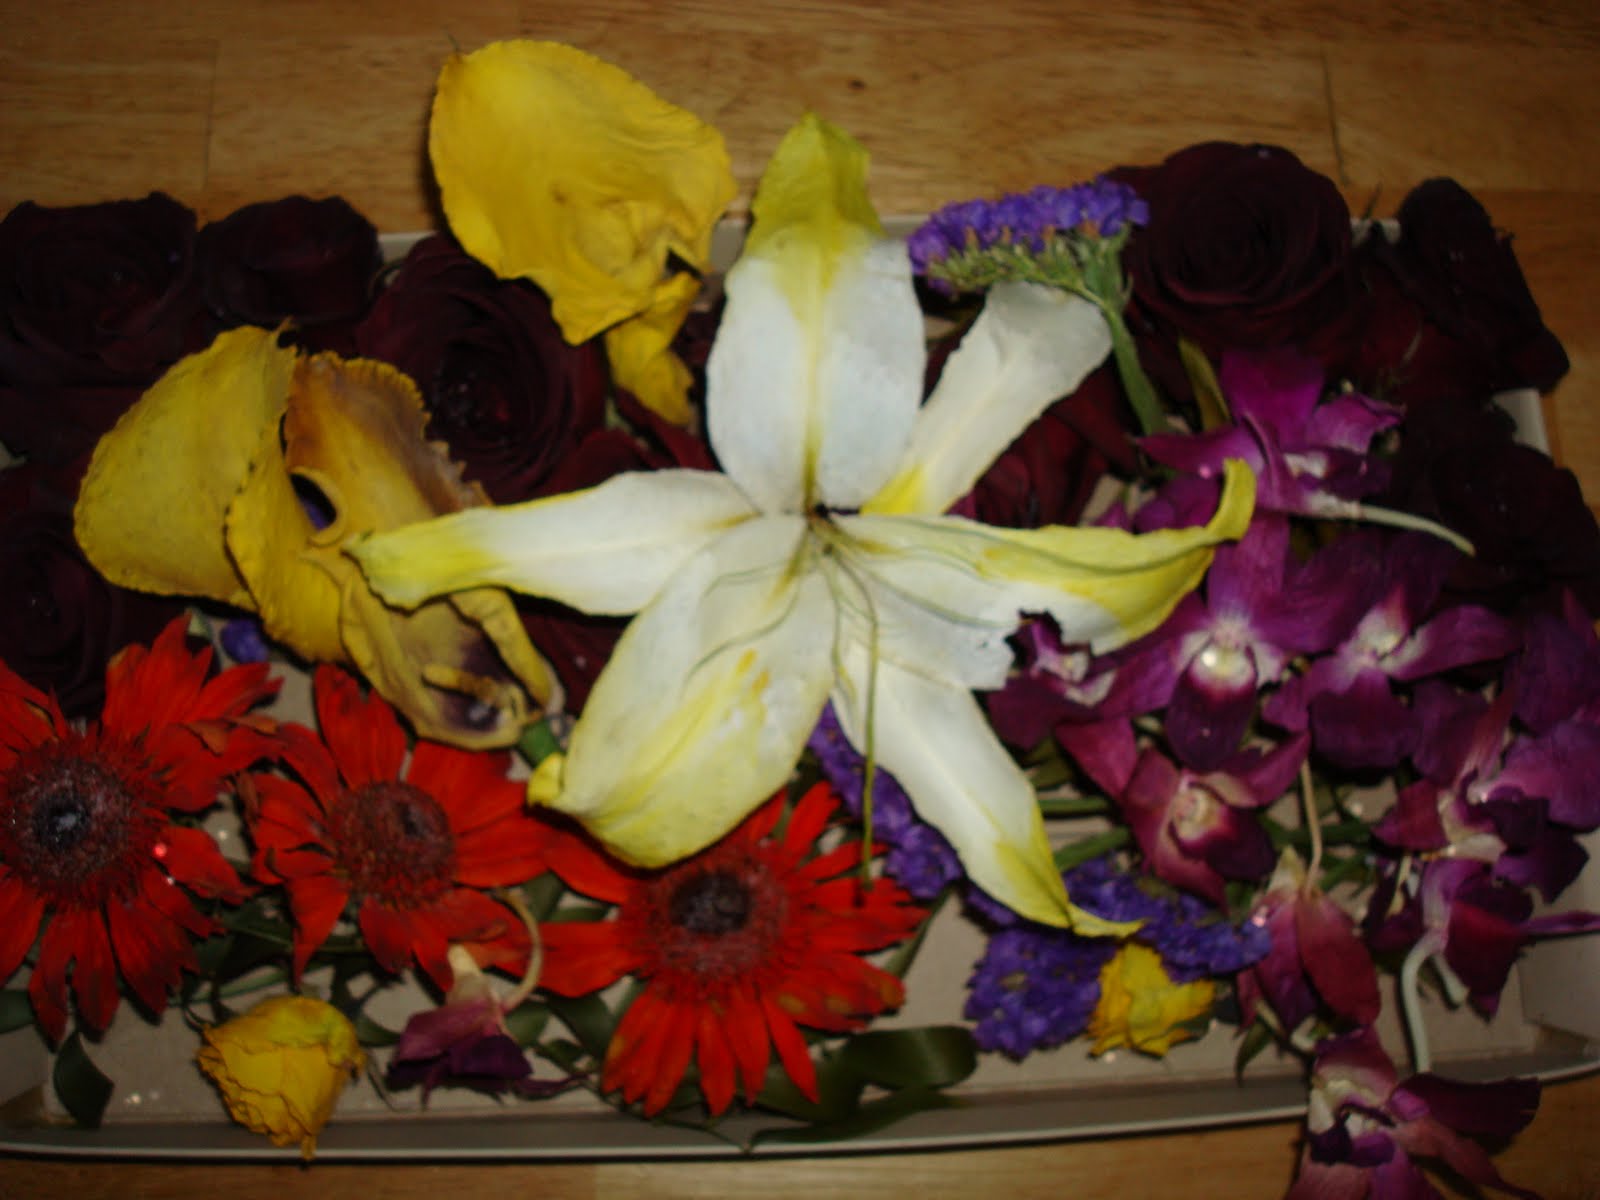
Here is what my finished product looked like.

and

(I used both Powder and Gel)
There were a few extra orchids that I could not fit into the two boxes that I filled and the stems were cut so I couldn't put them into a bouquet like arrangement, so I did this:

Orchids last a long time, so this pretty arrangement sat on my kitchen table for about a week and a half! Not too shabby if you ask me!
Back to the preservation; It only takes about a week for all of the moisture to be taken out of the flowers, so be patient and don't peek. You'll be able to see the finished product before long!
Here is how mine turned out:

Color definitely got darker but they are beautiful. Much more vibrant then if you just hung them to dry, plus wait until you see my next post when I give you the steps on how to make something of these lovely flowers!
No onto my exciting news: Joshua booked us on a 1 year anniversary honeymoon cruise which leaves in about 8 hours!!!!!
I'm SO excited! Bahamas, here we come :)
I've got the most wonderful husband...
Until next time,
Suzanne


